BlogEnergy Efficient Window Film Arizona: The Smartest Way to Cut Cooling Costs and Improve Home Comfort Singh / May 1, 2026
BlogDecorative Window Film Scottsdale AZ: Style, Privacy, and Function All in One Solution Singh / April 30, 2026
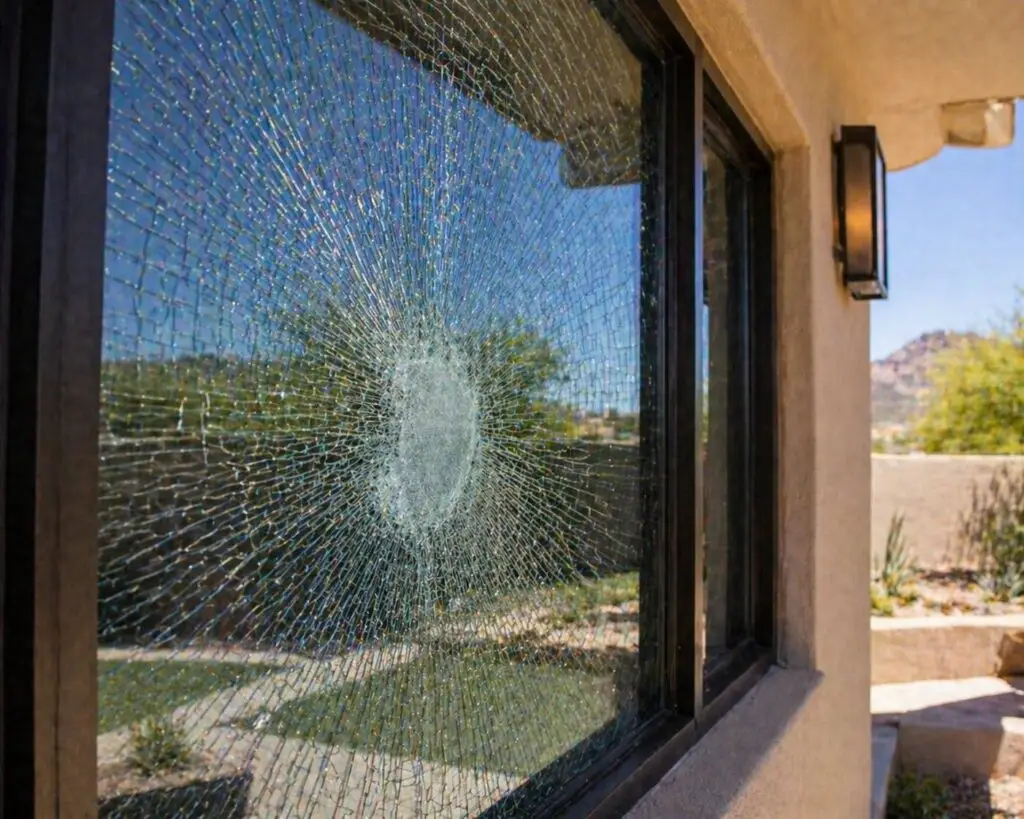
BlogSecurity Window Film for Home and Business in Arizona: The Invisible Layer of Protection You Should Not Overlook Singh / April 29, 2026
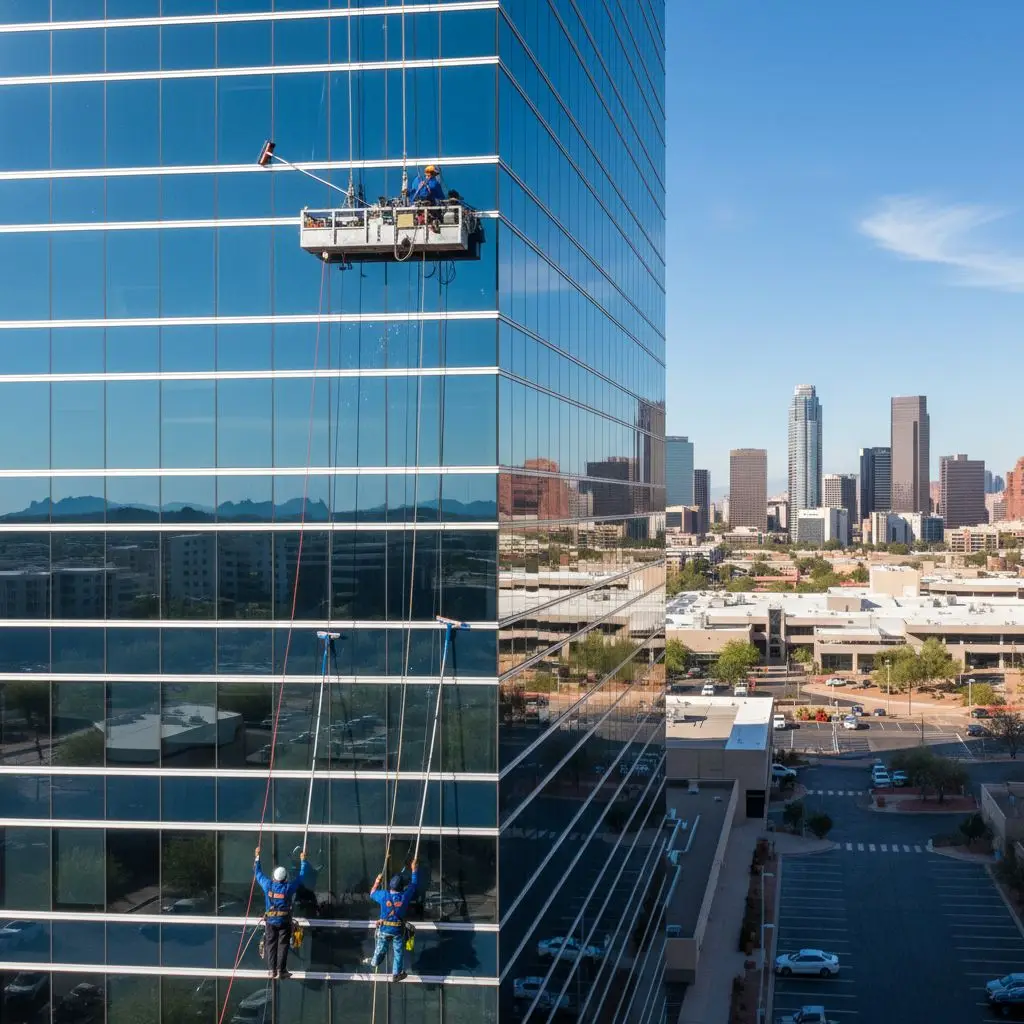
BlogWindow Cleaning Services Scottsdale AZ: Why Clean Windows Matter More Than Most People Realize Singh / April 28, 2026
BlogPressure Washing Services Phoenix AZ: The Fastest Way to Restore Your Property’s Appearance Singh / April 27, 2026
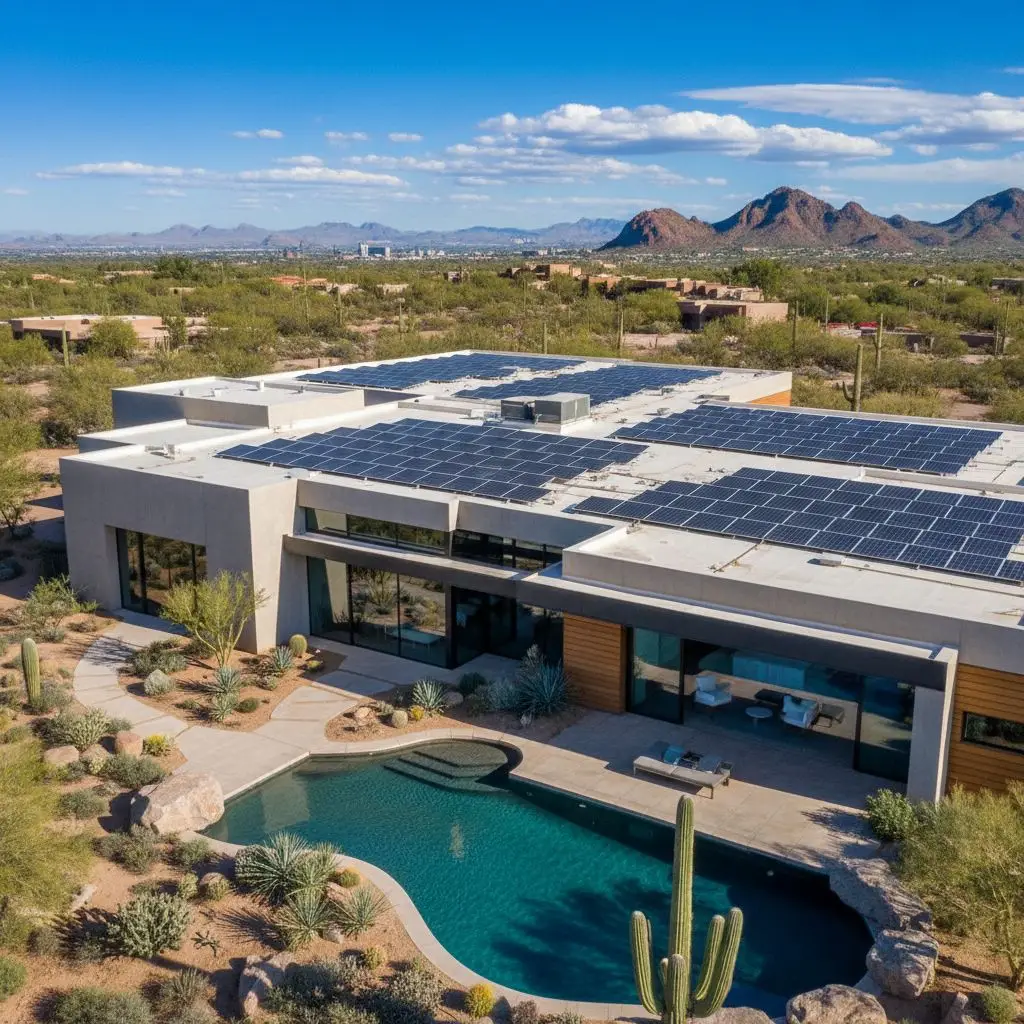
BlogSolar Panel Cleaning Scottsdale AZ: Why Clean Panels Are the Key to Maximum Energy Output Singh / April 24, 2026
BlogResidential Window Tinting Phoenix AZ: The Home Upgrade Every Phoenix Homeowner Should Consider Singh / April 23, 2026
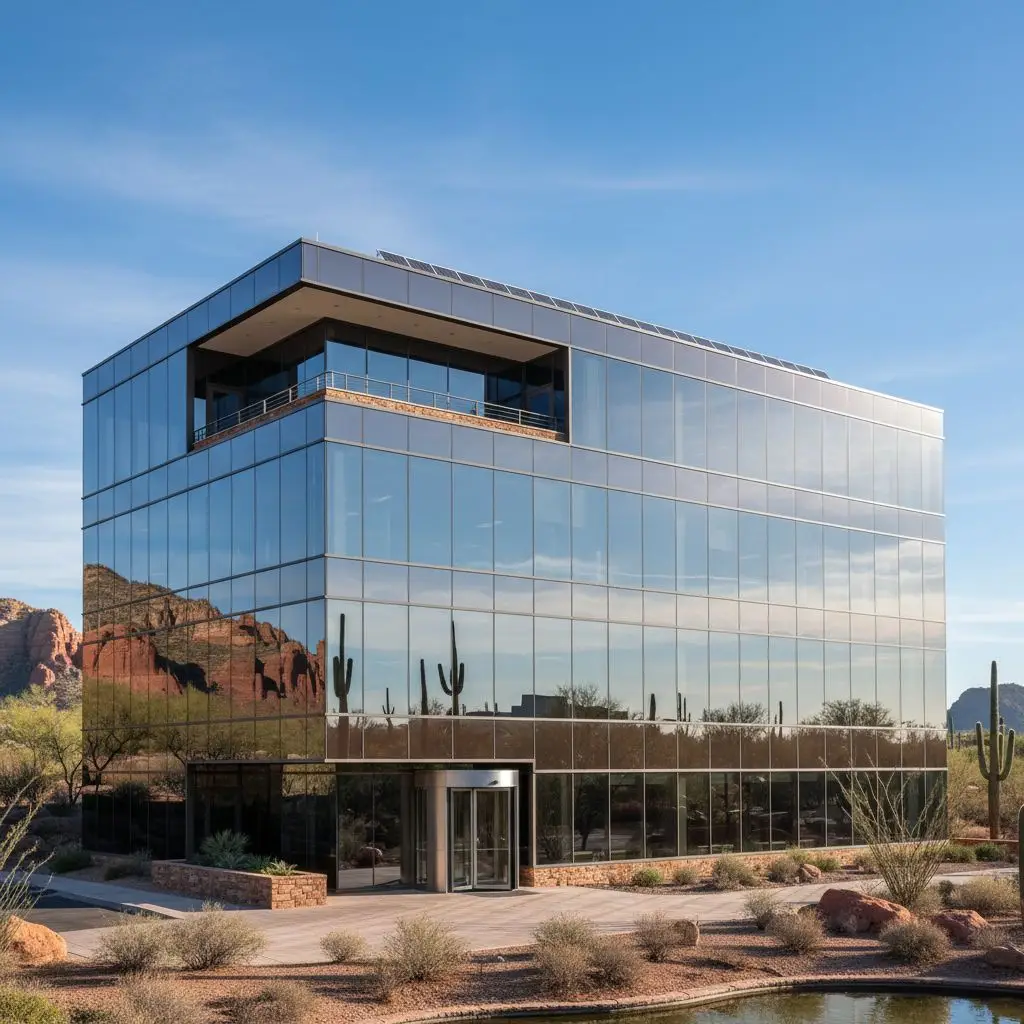
BlogCommercial Window Tinting Scottsdale AZ: The Business Upgrade That Pays for Itself Singh / April 22, 2026