It’s important to understand the differences between professional window tinting and DIY approaches in El Mirage. While taking the do-it-yourself route may seem appealing due to cost savings, there are several factors to consider, including quality, durability, and compliance with local regulations. Your choice can significantly impact the aesthetic appeal and functionality of your vehicle or home, so it’s necessary to weigh the pros and cons carefully before making a decision.
Understanding Window Tinting
Window tinting involves applying a thin film to the interior or exterior of glass surfaces to alter their appearance and performance. This process can enhance your vehicle’s aesthetics, improve energy efficiency, and protect against harmful UV rays. There are various types of films available, each offering unique features, levels of tint, and applications suited to your specific needs.
Benefits of Window Tinting
Investing in window tinting provides several advantages, including increased privacy, reduced glare, and enhanced UV protection. This can lead to a cooler interior temperature, lowering air conditioning costs and prolonging the life of your vehicle’s upholstery. Moreover, some films offer shatter resistance, adding an extra layer of safety.
Types of Window Tinting Films
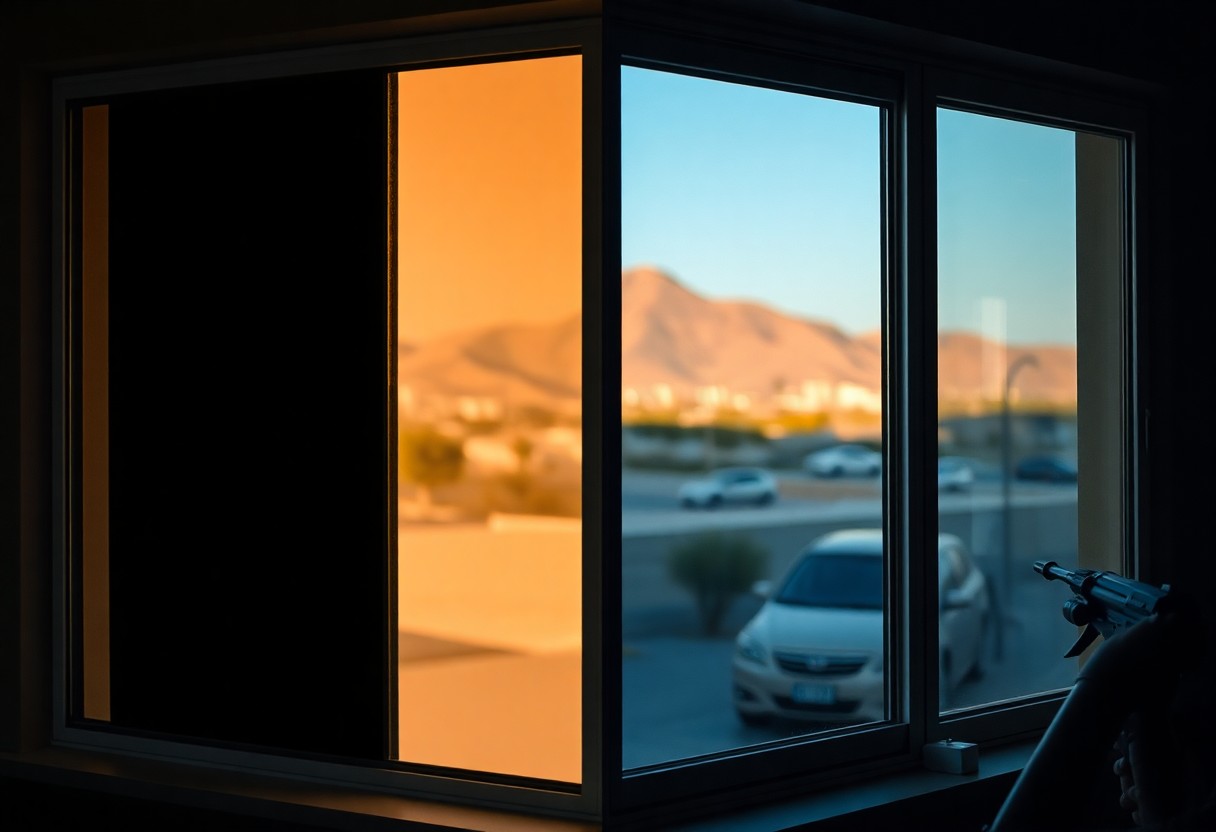
Window tinting films come in various types, including dyed, metalized, and ceramic films. Dyed films are cost-effective and enhance privacy but can fade over time. Metalized films reflect heat and enhance durability, while ceramic films provide superior UV protection and clarity without interfering with electronic signals. Your choice should depend on your specific needs, budget, and local regulations.
| Type | Description |
| Dyed Film | Cost-effective, provides privacy, may fade |
| Metalized Film | Durable, reflects heat, can interfere with signals |
| Ceramic Film | High UV protection, clear visibility, expensive |
| Hybrid Film | Combines properties of dyed and metalized |
| Safety Film | Enhances shatter resistance, adds security |
When exploring the types of window tinting films, consider their unique features. Dyed films often lower glare and are available in different shades, while metalized films provide heat rejection but can disrupt radio signals. Ceramic films are the best at blocking UV rays without compromising visibility. Hybrid films blend benefits, while safety films focus on protecting against breaks and impacts. Assume that your choice will impact not just aesthetics, but functionality and comfort as well.
- Think about your primary reasons for tinting.
- Evaluate local regulations regarding tint levels.
- Consider professional installation for best results.
- Need advanced UV protection? Look for ceramic films.
- Assume that quality materials yield longer-lasting results.
| Consideration | Notes |
| Cost | Higher quality films often have a higher initial investment. |
| Durability | Metalized and ceramic films tend to last longer. |
| Maintenance | Some films require special care to maintain appearance. |
| Warranty | Look for films with manufacturer warranties for assurance. |
| Local Laws | Research tinting laws to ensure compliance. |
Professional Window Tinting
When you opt for professional window tinting, you gain access to expert knowledge and high-quality materials that can significantly enhance the overall results. Trained technicians bring years of experience to ensure a proper application, maximizing the longevity and effectiveness of the tint. Additionally, professional services often come with warranties, giving you peace of mind regarding any potential issues that may arise post-installation.
Advantages of Hiring Professionals
Hiring professionals for window tinting provides numerous benefits, including flawless installation and adherence to legal regulations. Professionals can select the optimal film type for your specific needs, whether it’s for UV protection, heat reduction, or glare control. Their advanced tools and techniques result in a cleaner, more uniform finish compared to a DIY approach, minimizing the risk of bubbling or peeling.
Cost Considerations and Estimates
Costs for professional window tinting can vary significantly based on factors such as vehicle size, film type, and local labor rates. On average, you might spend between $200 and $600 for a typical car, while larger vehicles or specialty films can drive costs upwards of $1,000. Always seek estimates from several reputable providers to understand the market rates in El Mirage.
Comparing estimates from multiple professionals can ensure you receive a fair price while taking quality into account. Keep in mind that lower prices might indicate subpar materials or rushed installations, so weigh cost against the value of long-lasting results and warranties. If you’re aiming for specific performance characteristics, such as heat rejection or privacy, factor those needs into your overall cost assessment. Investing in professional tinting not only enhances your vehicle’s aesthetics and comfort but can also save you money in energy costs over time, making it a wise financial decision in the long run.
DIY Window Tinting
Taking the DIY route for window tinting can save you money, but it requires careful planning and execution. You’ll need to familiarize yourself with local laws regarding tint percentages and application techniques. Success depends on choosing the right materials and executing the installation flawlessly, as poorly applied tints may lead to unattractive, uneven surfaces or bubbles.
Necessary Tools and Materials
Your DIY window tinting project will need a few crucial tools: a sharp utility knife, a squeegee, a heat gun, and a spray bottle filled with soapy water. High-quality window film is a must, along with a measuring tape and a lint-free cloth to ensure a smooth application. Purchase reputable brands to guarantee better durability and performance.
Common Mistakes to Avoid
Avoiding pitfalls can make or break your DIY window tinting experience. Common mistakes include not cleaning the glass thoroughly, applying film on a cold day, and misaligning the tint. Each of these errors can result in a less effective application and unsatisfied outcomes.
One of the most prevalent mistakes is neglecting to clean the windows properly before installation. Dirt, dust, or residues can lead to bubbles and peeling. Additionally, attempting to apply tint in cold or damp conditions can hinder adhesion, making it difficult for the film to stick properly. Misalignment often occurs when you rush the application, leading to wasted material and a less than stellar finish. Paying attention to these details can significantly enhance the quality of your DIY results.
Legal Aspects of Window Tinting in El Mirage
Understanding the legal framework surrounding window tinting is imperative to ensure compliance and avoid potential issues. Different states and municipalities impose various laws regarding the amount of light allowed to pass through tinted windows, and El Mirage is no exception. Familiarizing yourself with local regulations can save you time, money, and hassle in the long run.
Local Regulations and Restrictions
In El Mirage, window tinting regulations dictate the darkness level allowed for both cars and homes. For passenger vehicles, the front windshield must have a minimum of 70% VLT (visible light transmission), while the front side windows must also allow 33% or more light. Understanding these restrictions helps you choose the right tint that meets legal requirements without compromising aesthetics.
Consequences of Non-Compliance
Failing to comply with local window tint regulations can lead to fines, required removal of the tint, and even potential points on your driving record. Law enforcement agencies often conduct roadside checks and inspections, making it vital to stay informed about these rules to avoid penalties.
For instance, El Mirage enforces penalties that can reach up to $300 for illegal window tinting. Additionally, you may be required to re-motivate your vehicle to remove or modify the tint, which incurs extra costs. Chronic offenders risk facing further legal action, increasing insurance premiums, and decreased resale value of the vehicle. Being well-versed in these regulations helps you make informed decisions and prevents costly mistakes.
Comparing Costs: Professional vs. DIY
| Cost Type | Estimated Amount |
|---|---|
| Professional Installation | $200 – $600 |
| DIY Materials | $50 – $200 |
| Potential Warranties | Included with Professional |
| Time Investment (DIY) | 4 – 8 hours |
Breakdown of Expenses
You’ll find that professional installation typically ranges from $200 to $600, depending on the vehicle and window complexity. DIY kits, while more affordable at $50 to $200, can incur additional costs if you factor in mistakes or the need for special tools. Consider these variables when calculating your overall budget.
Long-term Value Assessment
Investing in professional tinting offers the long-term benefit of warranties and expert application, which can prevent bubbling and peeling. While DIY may seem cost-effective initially, you might sacrifice quality, leading to potential costs for reapplication or corrections later.
Ultimately, the long-term value of professional window tinting stems from not just the warranty coverage but also the assurance of a flawless finish that enhances your vehicle’s appearance and performance. If you opt for DIY, weigh the risk of uneven application or improper installation, which can diminish the tint’s benefits. When considering your choices, think about future repairs or replacements that could result from a less-than-expert job, as this could offset any initial savings.
Maintenance and Care for Tinted Windows
Maintaining tinted windows is important for preserving their appearance and functionality. Regular cleaning with a gentle solution keeps the surface clear and prevents damage. Use a soft cloth or sponge to avoid scratches, and always follow the recommended care practices specific to the tint type you chose.
Best Practices for Durability
To enhance the durability of your tinted windows, avoid using abrasive materials during cleaning. Instead, opt for mild soap mixed with water. It’s also advisable to refrain from rolling down the windows for at least a few days after installation, allowing the adhesive to properly set and bond with the glass.
Signs That It’s Time for Reapplication
Look for signs such as bubbles, peeling, or discoloration to determine if your tint needs reapplication. If the tint has become too faded or damaged over time, it’s likely time to start considering a fresh application.
Specifically, bubbles indicate a separation between the film and the glass, usually due to moisture trapped during installation or aging. Peeling edges are another telltale sign, which can result from exposure to extreme heat or poor-quality tint. If you notice significant color fading, especially after prolonged sun exposure, it’s important to reapply to maintain effectiveness and aesthetics.
Final Words
Drawing together the insights on professional vs. DIY window tinting in El Mirage, you’ll find that while DIY offers cost savings, professional installation provides superior quality, durability, and warranty protections. Your choice should be based on factors such as budget, desired results, and your own skills. If you aim for a flawless finish and long-lasting performance, investing in a professional service could be your best option, ensuring you enjoy the benefits of tinted windows without complications.